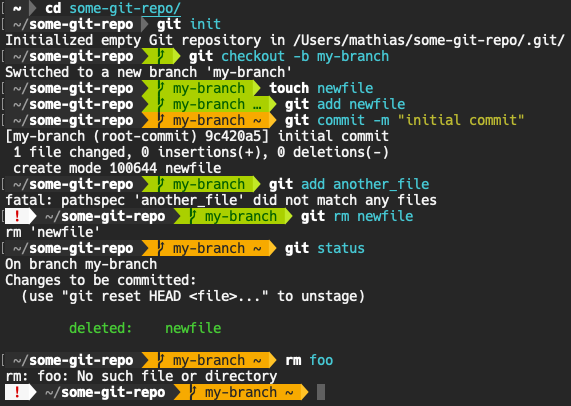
The first thing I do on a new Mac is configuring the terminal and shell. I always install Fish and bobthefish with patched nerd fonts. If you follow the steps in this blogpost, you will have a nice looking shell like mine:
Install Homebrew
If you haven’t installed Homebrew yet, head over to brew.sh to install it on your Mac.
Install Fish
$ brew install fishIn order to make fish your default shell, add /usr/local/bin/fish to /etc/shells , and execute chsh -s /usr/local/bin/fish . If not, then you can always type fish in bash .
Install Oh My Fish
$ curl -L https://get.oh-my.fish | fishMore info about Oh My Fish can be found here: github.com/oh-my-fish/oh-my-fish.
Install bobthefish
$ omf install bobthefishTo make best use of bobthefish you must nerd fonts patched font fonts. These fonts add icons and symbols to your shell:
$ set -g theme_nerd_fonts yesMore info about bobthefish can be found here: github.com/oh-my-fish/theme-bobthefish.
Install nerd fonts
To install the nerd fonts that we have activated for bobthefish we can use Homebrew:
$ brew tap homebrew/cask-fonts
$ brew cask install font-hack-nerd-font
Enable nerd fonts in the terminal profile
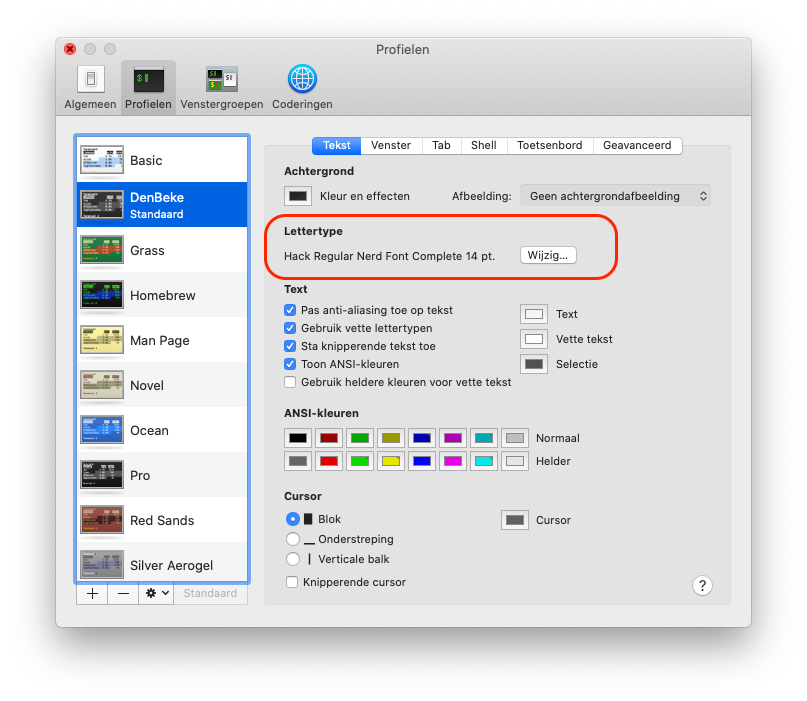
Don’t forget to enable the patched nerd fonts in your terminal profile:
- Go to the preferences of the Terminal app.
- Choose your default profile.
- Change the font to Hack Nerd Font (regular).
Now you’re all set. Open a new terminal window and enjoy a good looking shell!