![]() Invoice Ninja is an open-source platform which helps you take care of clients, invoices, payments, expenses, time-tracking, and more…
Invoice Ninja is an open-source platform which helps you take care of clients, invoices, payments, expenses, time-tracking, and more…
In this guide I explain how you can run Invoice Ninja on your own server with Caddy and PHP-FPM.
Prerequisites
- MySQL Server up and running
- PHP-FPM up and running
- I assume that you have already setup Caddy and know it’s basics. I have other guides if you need help running Caddy with systemd or upstart.
Download the latest version of Invoice Ninja
Download the latest version here: Download Invoice Ninja.
Setup the database
Open the MySQL console:
$ mysql -u root -pExecute the following SQL statements to create the database for Invoice Ninja, and grant a new user access to it:
CREATE DATABASE ninja;
CREATE USER 'ninja'@'localhost' IDENTIFIED BY 'ninja';
GRANT ALL PRIVILEGES ON ninja.* TO 'ninja'@'localhost';
Caddyfile
I use the following Caddyfile for Invoice Ninja:
invoiceninja.domain.com {
    root sites/invoiceninja/public
    fastcgi / unix:/var/run/php/php7.0-fpm.sock php
    log sites/invoiceninja/access.log
    errors sites/invoiceninja/error.log

    // Rewrite rules for Invoice Ninja (Laravel)
    rewrite {
        r .*
        ext /
        to /index.php?{query}
    }
}
invoiceninja.domain.com will automatically be served over HTTPS.
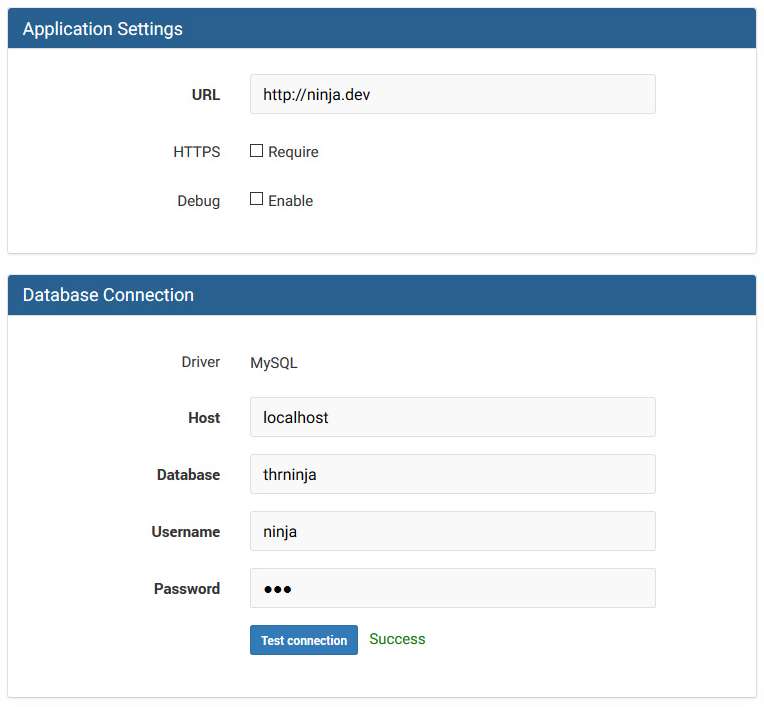
Installing Invoice Ninja
Installing Invoice Ninja is then straightforward: point your browser to invoiceninja.domain.com, and follow the on-screen steps.
I used Sendgrid as email provider, but you can also use your local mail server or any email service.