Last week I built a hackintosh server for macOS server. This machine replaces an old Intel Atom server running Ubuntu.
Hardware
For this project I bought an Intel NUC 6i3SYH with 8GB DDR4 ram and a Western Digital 256GB m2 SSD. The box version of the NUC allowed me to add another 2,5″ SATA disk for storage.
For the Time Machine backup service I used external harddisks.
Software
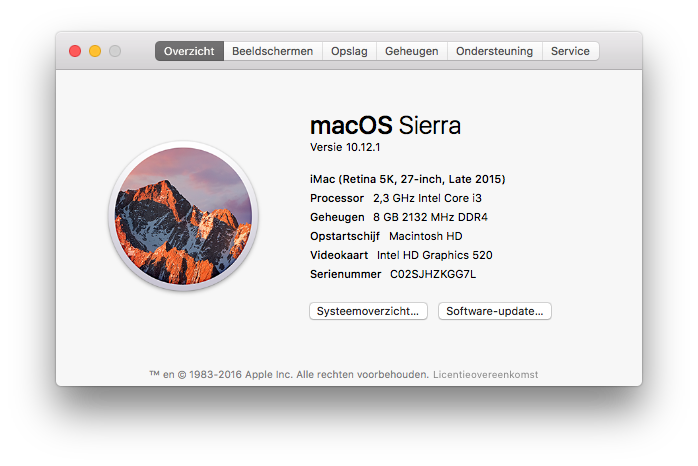
I downloaded the latest macOS Sierra from the Mac App Store and installed it using Unibeast and Clover.
I followed this Hackintosh guide. The tutorial is very complete, so it useless for me to try and reproduce it in this blogpost. (Make sure to use the correct tutorial for your hardware. The tutorial I linked is for the Skylake version.)
Once macOS was successfully installed, I could download the Server app from the App Store and configure everything on the machine.
Don’t forget to disable auto sleep in the System preferences or your Mac will go in standby after a short period of inactivity.
Configuring macOS server
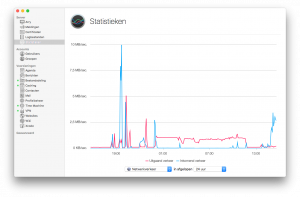
Remote macOS Server management
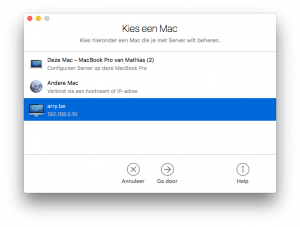
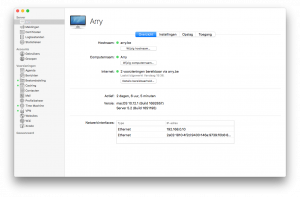
You can manage your headless Mac server with the Server app from another Mac. Just download de Server app on the other Mac and select the server. This will give you a nice interface from which you can manage your server.
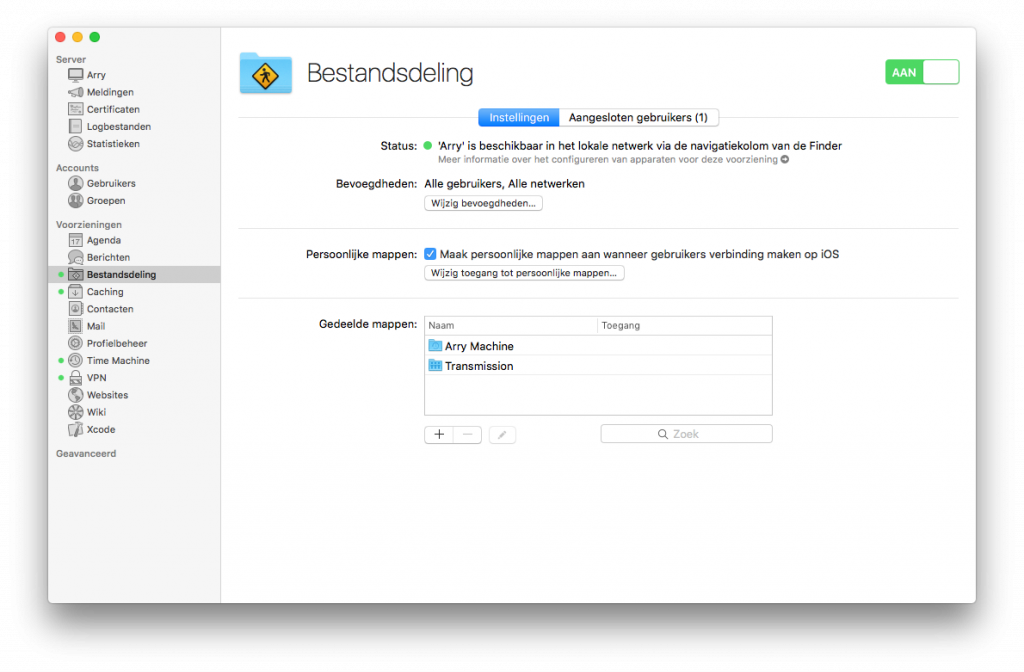
File sharing
Creating a shared volume is very easy. Go to File sharing in the navigation and do it yourself! ? It’s very intuitive, like all Apple products, so I won’t explain it here…
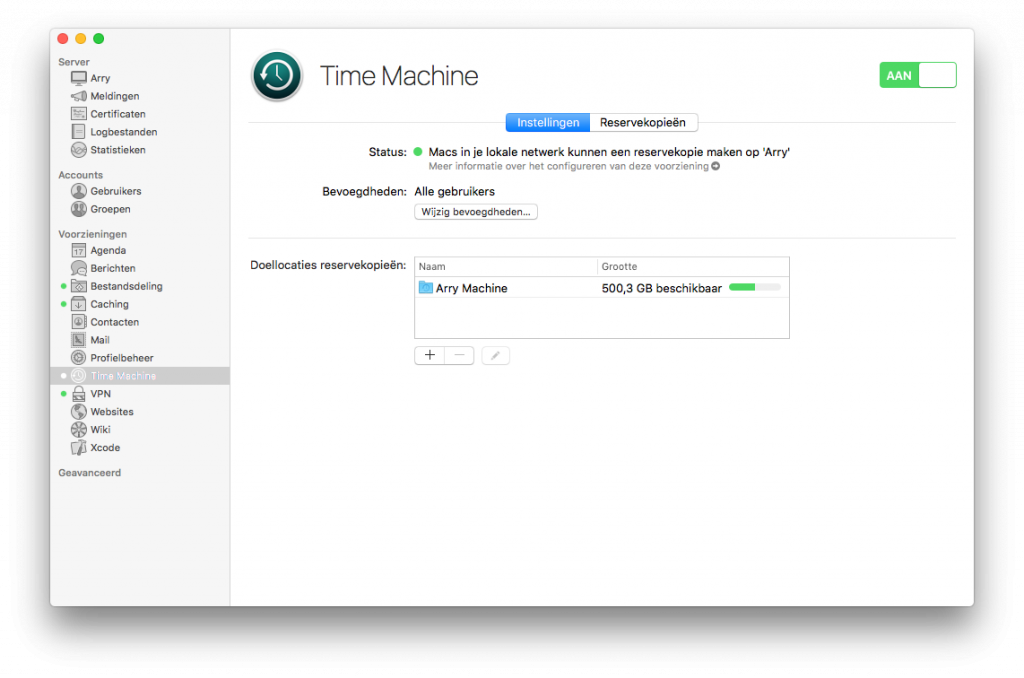
Time Machine server
You can easily add a Time Machine volume in the server interface: Go to the Time Machine service in the left column. Then add a volume (set the correct permissions and limitations if you want) and enable Time Machine.
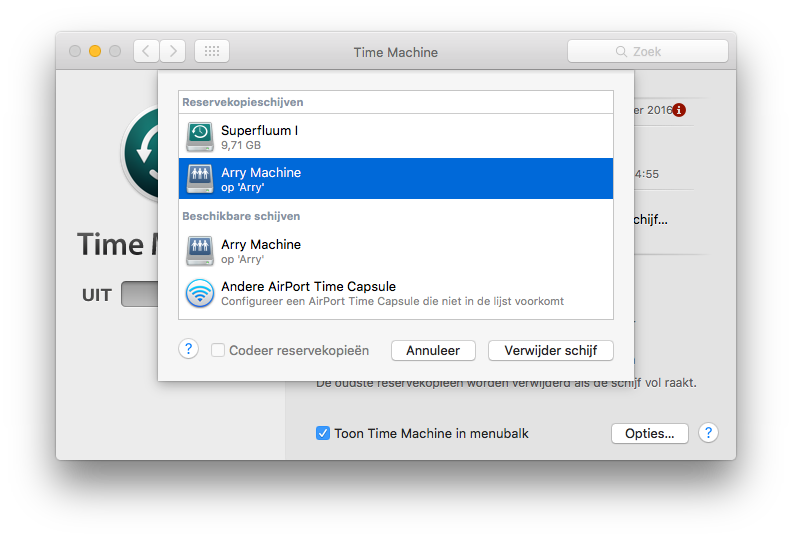
On your client Mac, go to Time Machine in the System Preferences, select Add backup disk and choose your new network volume. I had to restart my MacBook before the network drive showed up in the Time Machine settings.
VPN server
Configuring the VPN server can sometimes be a bit harder because you don’t always get relevant error messages when the client can’t connect to the server.
I generated a new shared secret (make sure that it has the correct length, otherwise you might end up with useless error message). Then I choose IP addresses which are not in the range of the DHCP IP’s of my router. The DNS server are by default the same as your server, but you can add any reachable DNS server in there. You could e.g. use Google DNS (8.8.8.8 and 8.8.4.4).
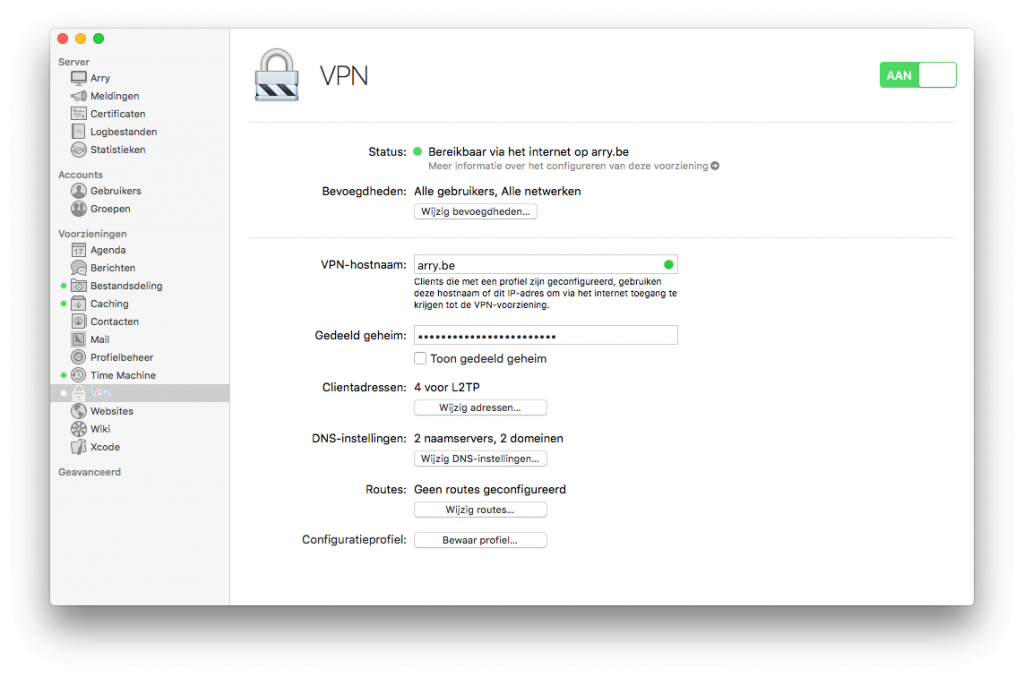
If you’ve configured everything, you can start the VPN server and connect to it with your Mac or iPhone. The VPN type you need to choose is L2TP.
Caching server
I had unfortunately no luck yet configuring the Caching server. Everywhere on the internet I read it’s a piece of cake: just enable the service and it should work. Well… my clients aren’t downloading through the caching server ?.
Configuring advanced command-line and development
The second part contains all the ‘expert’ ? configuration I did, i.e. anything which isn’t provided through the Server app config panel.
SSH authentication
First you must enable SSH access in the OS X server panel. You can do this in the main settings. You can connect to SSH using your username and password, but if you’re server is accessible outside your homenetwork, it’s a lot safer to disable passwords and use SSH keys. If you don’t need SSH keys, you can skip the rest of this section. Else you keep reading…
If you haven’t yet generated a key pair, you can do it using this command:
$ ssh-keygen -t rsa -b 4096 -C "your_email@example.com"Now copy your public key to the server:
$ cat ~/.ssh/id_rsa.pub | ssh user@192.168.0.184 'umask 0077; mkdir -p .ssh; cat >> .ssh/authorized_keys && echo "Key copied"'Then disablee password login for SSH: Edit the file /etc/ssh/sshd_config and add the following directives at the end of the file:
PermitRootLogin no
PasswordAuthentication no
PermitEmptyPasswords no
ChallengeResponseAuthentication no
Then restart the SSH (or Remote login as Apple calls it) service.
Install Xcode and command line tools
First you need to install Xcode from the Mac App Store. Once installed, you also need the Command Line Tools, you can initiate the download process by executing $ xcode-select --install in the Terminal.
MacPorts
Download MacPorts from the official website. And install it.
Install Fish shell
$ sudo port install fishManually set your PATH correctly for Fish so it finds MacPorts binaries. Add the following line to ~/.config/fish/config.fish:
set -xg PATH /opt/local/bin /opt/local/sbin $PATHDownload YouTube videos to iTunes server
I created an shared iTunes library on my server in which I save YouTube movies I can then play from other Macs in the network. To download a youtube movie and automatically add it to that library, you need the following command:
$ cd /Volumes/Arry/iTunes\ Youtube/iTunes\ Media/Automatically\ Add\ to\ iTunes.localized/
$ youtube-dl -f "[ext=mp4]" "https://www.youtube.com/watch?v=BzqjhC2OYnM"
Don’t forget to run iTunes as a login item.
Disable webserver on port 80
If you want to run your own web server, you must stop Apache on port 80 and 443:
$ sudo launchctl unload -w /Applications/Server.app/Contents/ServerRoot/System/Library/LaunchDaemons/com.apple.serviceproxy.plistI run Caddy server on my Mac. Read this blogpost about running it as a service: Running Caddy as a service on macOS X server
Dynamic DNS
If you are hosting the server at home, your IP might sometimes change. You can solve this by buying a domain name and using dynamic DNS for it. To do so you need to execute a script which your DNS provider gives you. For ClouDNS the command looks like this:
$ wget -q --read-timeout=0.0 --waitretry=5 --tries=400 --background https://ipv4.cloudns.net/api/dynamicURL/?q=...With cron you can create a job which executes the command for your dynamic DNS on your given time interval. This opens the crontab editor:
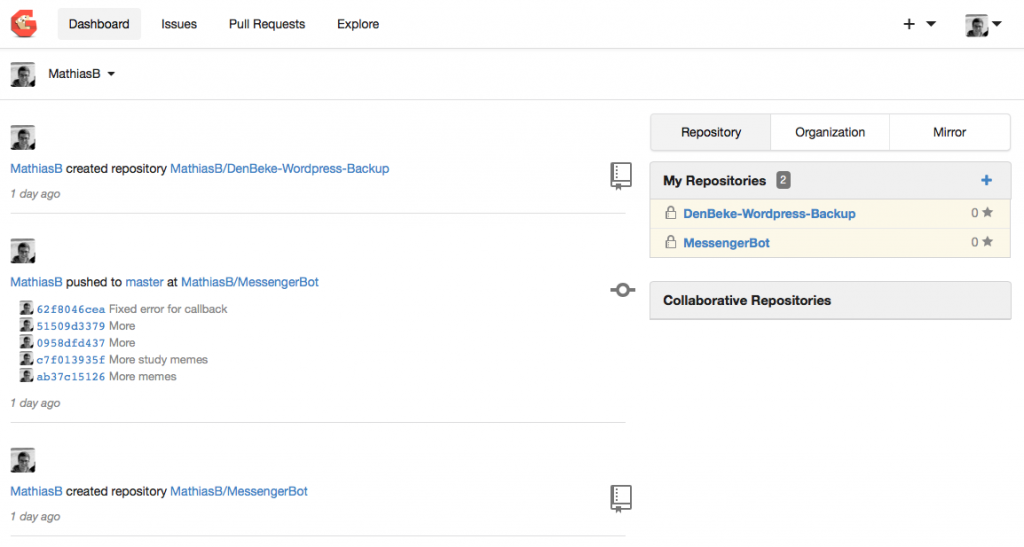
$ crontab -eRunning a Git server
To host my git repositories I run Gogs on my Mac. More info in this blogpost: Running Gogs (Go Git Service) as a service on macOS X server.